
I remember the first time I tried making gluten-free zucchini bread. It was... well, a bit of a disaster. I was new to gluten-free baking and ended up with a loaf that was dense and crumbly. My husband, bless his heart, ate a piece and said, 'It's... earthy!' Ugh. But I was determined. My grandmother used to make the most amazing zucchini bread, and the memory of its scent and texture was something I wanted to recreate for my own family. After so many trials, tweaking the flour blend, adjusting the moisture, I finally landed on this recipe. The first time I pulled this version from the oven, I knew. The crust was golden, the aroma was perfect, and that first slice was pure heaven. It’s a little piece of my childhood, reimagined for my own healthy lifestyle, and sharing it feels like passing on a little bit of that family warmth.
Why You'll Adore This Recipe
-
Incredibly Moist & Tender: The combination of shredded zucchini and just the right balance of oils and eggs creates a texture that's anything but dry. Seriously, this bread stays moist for days, which is sometimes a challenge in gluten-free baking. It's so soft and satisfying.
-
Beautifully Spiced Flavor: It’s not just about the zucchini; it's about the warmth. The generous amount of cinnamon, with a little hint of nutmeg, makes every bite feel cozy and nostalgic. It tastes like autumn, even on a summer day.
-
So Easy to Make: This is truly a one-bowl wonder. You don't need any fancy equipment, just a bowl and a whisk. It's a forgiving recipe that comes together in minutes, making it perfect for a spontaneous baking session on a quiet afternoon.
-
Wonderfully Wholesome: It feels good to bake something that's packed with vegetables, right? It’s a treat that feels nourishing, and you can easily adjust the sweetness. It’s my favorite way to sneak in some extra greens for the family.
This is the only zucchini bread my family asks for now—it's just that good, and nobody can even tell it's gluten-free!
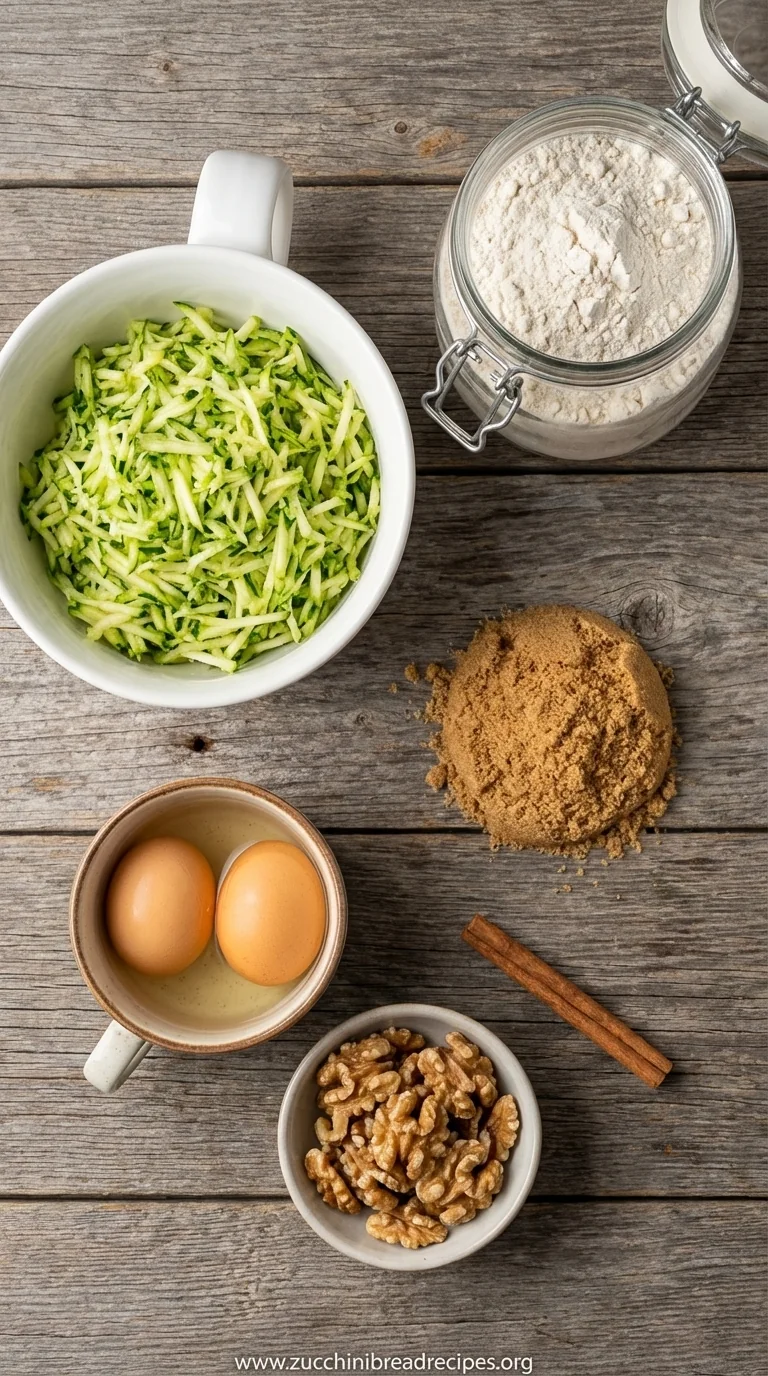
Essential Ingredient Guide
- Gluten-Free All-Purpose Flour: Look, the key to a great gluten-free bread is the flour blend. I always recommend using a blend that contains xanthan gum, as it helps create that structure and chewiness we miss from gluten. If your blend doesn't have it, you'll need to add it separately. Don't just substitute a single flour like coconut or almond; a well-balanced blend is what gives this bread its perfect, non-gummy texture.
- Fresh Zucchini: The star of the show! Use a medium-sized zucchini; the giant ones tend to be watery and have tougher seeds. You don't need to peel it—those little green flecks are so pretty and add extra nutrients. The most important step is to gently squeeze out some of the excess water after shredding. This prevents the bread from becoming too dense or soggy. Just a gentle pat with a paper towel is all it needs.
- Cinnamon: Please, please use good quality cinnamon. It makes all the difference. The fragrance that fills your kitchen should be warm, sweet, and a little bit spicy. It’s the soul of this zucchini bread. I sometimes add a tiny pinch of cardamom or nutmeg too, just to give it a little extra layer of warmth and complexity. It’s what makes this bread feel like home to me.
 Healthy
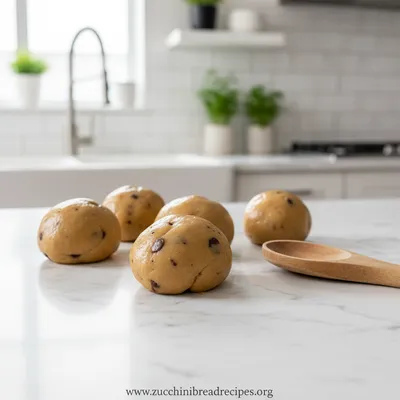
High Protein Cookie Dough
Delicious, chocolatey cookie dough packed with protein for a healthy on‑the‑go treat.
Complete Cooking Process
-
Preparation: Getting Your Elements Ready:
First, just breathe. This is the calm before the magic. Start by preheating your oven to 350°F (175°C) and gently preparing a 9x5 inch loaf pan. I like to grease it and then line it with parchment paper, leaving a little overhang on the sides. This little trick makes it so much easier to lift the bread out later—no sticking, no fuss. Then, you'll shred your zucchini. I use a simple box grater. Once it's shredded, let it sit for a moment and then give it a gentle squeeze with a paper towel or a clean dishcloth to remove some of that extra water. This step is honestly so important for the final texture. In a large bowl, you'll whisk together all your dry ingredients: the flour, sugar, baking soda, salt, and those lovely warm spices. Giving them a good whisk now ensures everything is evenly distributed.
-
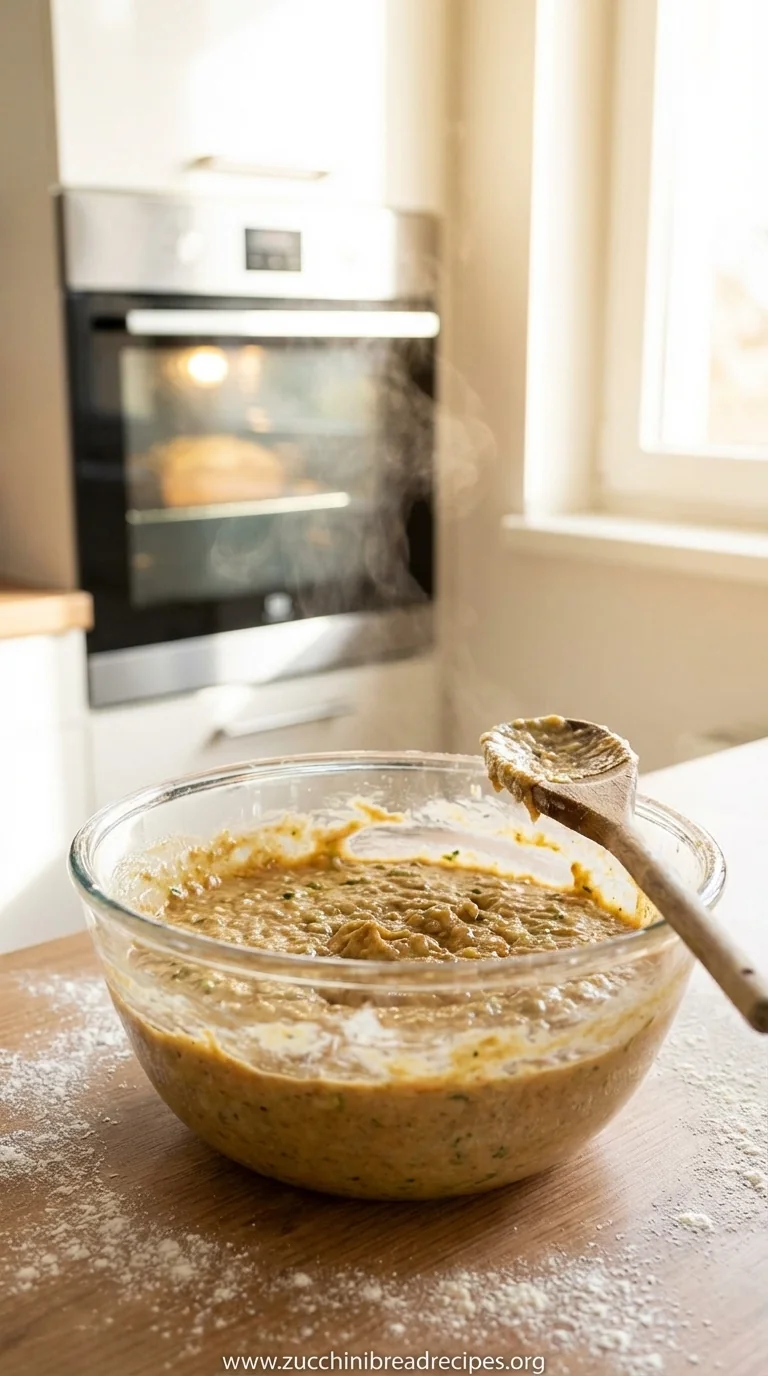
Mixing: The Heart of the Batter:
Now for the fun part. In a separate, medium-sized bowl, whisk together your wet ingredients—the eggs, oil, applesauce, and vanilla extract—until they're light and well-combined. I love this moment, watching the colors blend together. Then, pour this beautiful liquid mixture into the bowl with your dry ingredients. Using a spatula, gently fold everything together until it's just combined. Please don't overmix! A few little lumps are perfectly fine. Overmixing can make gluten-free baked goods tough. Finally, fold in your grated zucchini and any add-ins, like walnuts or chocolate chips, if you’re feeling it. The batter will be thick and lovely.
-
Baking: The Final Transformation:
Carefully pour the batter into your prepared loaf pan and use your spatula to smooth the top. It feels so satisfying. Pop it into the preheated oven and let it bake. The aroma will start to fill your kitchen after about 30 minutes, and oh my, it's the best thing. Let it bake for about 50-60 minutes. You'll know it's done when a wooden skewer or toothpick inserted into the center comes out clean or with a few moist crumbs attached. Let the bread cool in the pan for about 15 minutes before using those parchment paper handles to lift it out and transfer it to a wire rack to cool completely. I know it's tempting, but letting it cool is key to a perfect slice!
 Healthy
Baked Teriyaki Salmon – Easy Healthy Dinner
A quick baked salmon glazed with sweet‑savory teriyaki, perfect for a wholesome dinner.
Frequently Asked Questions
→ Can I use a different type of gluten-free flour?
You can, but the results will vary! I developed this recipe using a standard 1-to-1 gluten-free baking blend that includes xanthan gum. If you use a single-origin flour like just almond or coconut, the moisture and structure will be very different. For a reliable outcome, I really recommend sticking to a good quality all-purpose GF blend. If you're interested in baking with almond flour, I have a lovely almond flour version you might enjoy.
→ My zucchini bread turned out gummy. What did I do wrong?
Oh, the dreaded gummy texture! This usually happens for two reasons in gluten-free baking. First, overmixing the batter can develop the starches too much. You want to mix only until the flour is just incorporated. Second, and more likely, is too much moisture from the zucchini. It's super important to gently squeeze out the excess water from the shredded zucchini before adding it to the batter. This one small step makes a world of difference in achieving that perfect, tender crumb.
→ How do I store this gluten-free zucchini bread?
This bread stores beautifully! Once it has cooled completely (and I mean completely!), you can store it in an airtight container at room temperature for up to 3 days. I sometimes like to place a paper towel in the container to absorb any extra moisture. If you want to keep it longer, it freezes wonderfully. Just slice it first, wrap the slices individually, and then place them in a freezer-safe bag. They'll last for up to 3 months!
→ Can I make this recipe dairy-free or vegan?
Yes, absolutely! This recipe is already naturally dairy-free since it uses oil instead of butter. To make it vegan, you can substitute the eggs with flax eggs. To do so, for each egg, mix 1 tablespoon of ground flaxseed meal with 3 tablespoons of water and let it sit for about 5-10 minutes to thicken before adding it to the wet ingredients. The texture might be slightly denser, but it will still be delicious.
→ Can I reduce the sugar in this recipe?
You certainly can. This recipe is quite forgiving with the sugar content. You could reduce the brown sugar by about 1/4 cup without drastically affecting the texture. The applesauce already provides some natural sweetness. If you're looking for a specifically low-sugar version, that might be a great recipe to explore. You can also substitute the sugar with coconut sugar or maple syrup, though you may need to adjust the wet ingredients slightly if using a liquid sweetener.
→ Can I turn this recipe into muffins?
Yes, this recipe makes wonderful muffins! Just line a muffin tin with paper liners, fill each one about two-thirds full with batter, and bake at 350°F (175°C). They will bake much faster than the loaf, so start checking them around the 18-22 minute mark. They're perfect for grab-and-go breakfasts. If you love muffins, you should also try my dedicated zucchini muffins recipe.
→ Do I need to peel the zucchini?
Nope, no peeling required! The skin of the zucchini is very thin and soft, especially on small to medium-sized ones. It melts right into the bread as it bakes, so you won't even notice it. Plus, leaving the skin on adds those beautiful green flecks and a little bit of extra fiber and nutrients, so it's a win-win. Just give it a good wash before you grate it.
Nutrition Facts
per serving
190
Calories
3g
Protein
23g
Carbs
10g
Fat
Taste Profile
A beautifully balanced flavor profile that is sweet, warmly spiced with cinnamon, and has an earthy undertone from the zucchini.
Ingredient Substitutions
Don't have an ingredient? Try these alternatives
You can swap the brown sugar 1:1 with coconut sugar. If using maple syrup, reduce the applesauce by a couple of tablespoons to account for the extra liquid.
Any neutral-flavored oil works perfectly here. Melted and slightly cooled coconut oil adds a lovely richness.
Recipe Variations
Try these delicious twists on the original
Chocolate Lover's Version
Add 1/2 cup of chocolate chips to the batter and maybe even a tablespoon or two of cocoa powder with the dry ingredients for a rich, decadent twist.
Citrus Burst
Add the zest of one lemon or orange to the wet ingredients. The bright citrus flavor pairs beautifully with the zucchini and spices, adding a fresh, sunny note.
Common Mistakes to Avoid
Learn from others' mistakes for perfect results
- Not squeezing excess water from the zucchini, leading to a dense or soggy loaf.
- Overmixing the batter, which can make gluten-free baked goods tough.
- Slicing the bread while it's still warm, causing it to fall apart or have a gummy texture.
- Using a gluten-free flour blend without xanthan gum (and forgetting to add it), which results in a crumbly bread.
Meal Prep & Storage
Make Ahead Tips
You can definitely prep parts of this recipe in advance to make baking day a breeze. Feel free to shred the zucchini a day ahead; just store it in an airtight container in the fridge with a paper towel to absorb moisture. You can also pre-mix all your dry ingredients and store them in a sealed container at room temperature. Then, when you're ready to bake, you're already halfway there!
Leftover Ideas
Leftover slices are a true gift! They make for the easiest, most delicious breakfast or snack. I love to warm a slice in the toaster oven until the edges are just slightly crisp. You can also crumble leftover bread over yogurt or ice cream for a delightful treat. It’s surprisingly versatile and just as good, if not better, the next day.
Perfect Pairings
Serve this with...
Cooking Timeline
Preheat oven, prepare the loaf pan, and shred the zucchini.
Whisk together all dry ingredients in one bowl and all wet ingredients in another.
Combine wet and dry ingredients, gently fold in the zucchini, and pour batter into the pan.
Bake for 50-60 minutes until a toothpick comes out clean.
Cool in the pan for 15 minutes, then transfer to a wire rack to cool completely before slicing.
 Healthy
Cajun Honey Butter Salmon – Easy Healthy Recipe
Tender salmon with a zesty Cajun honey butter glaze, ready in minutes.
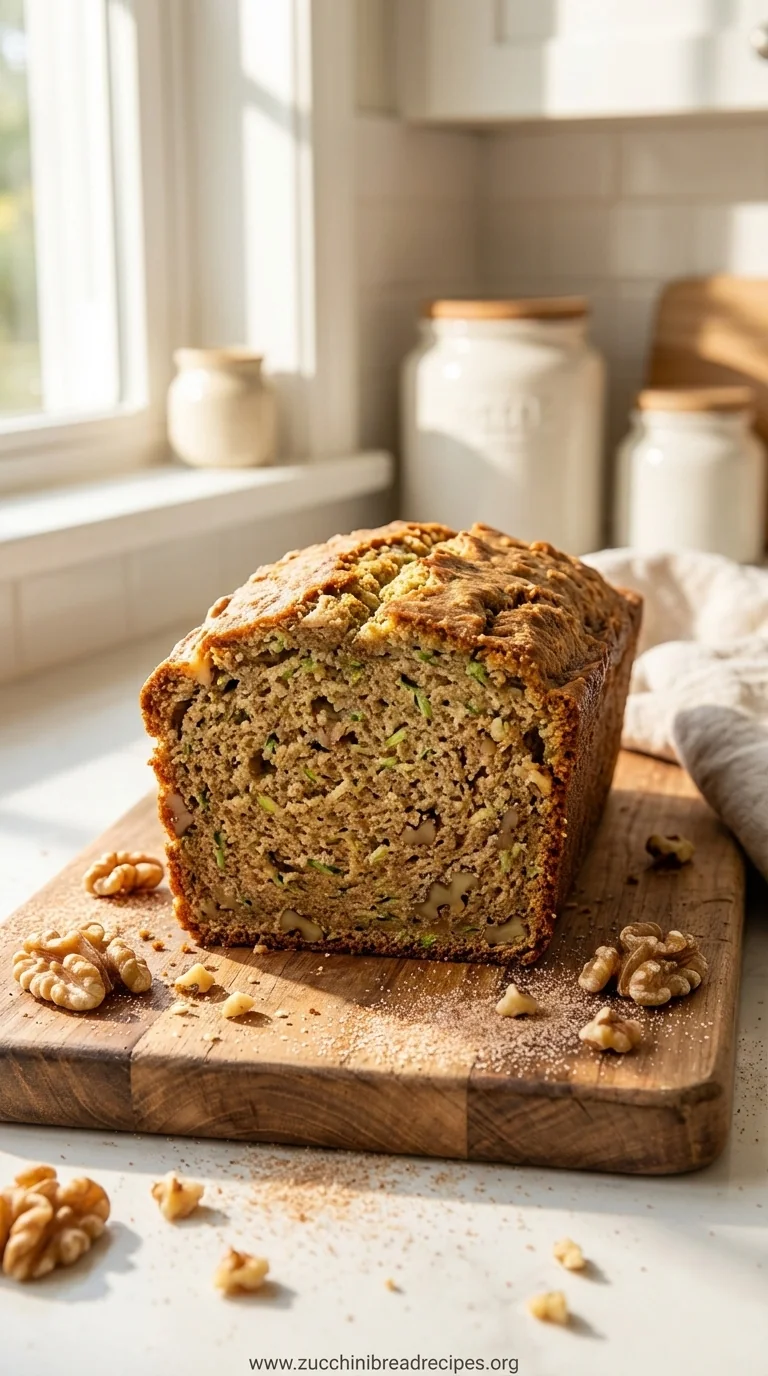
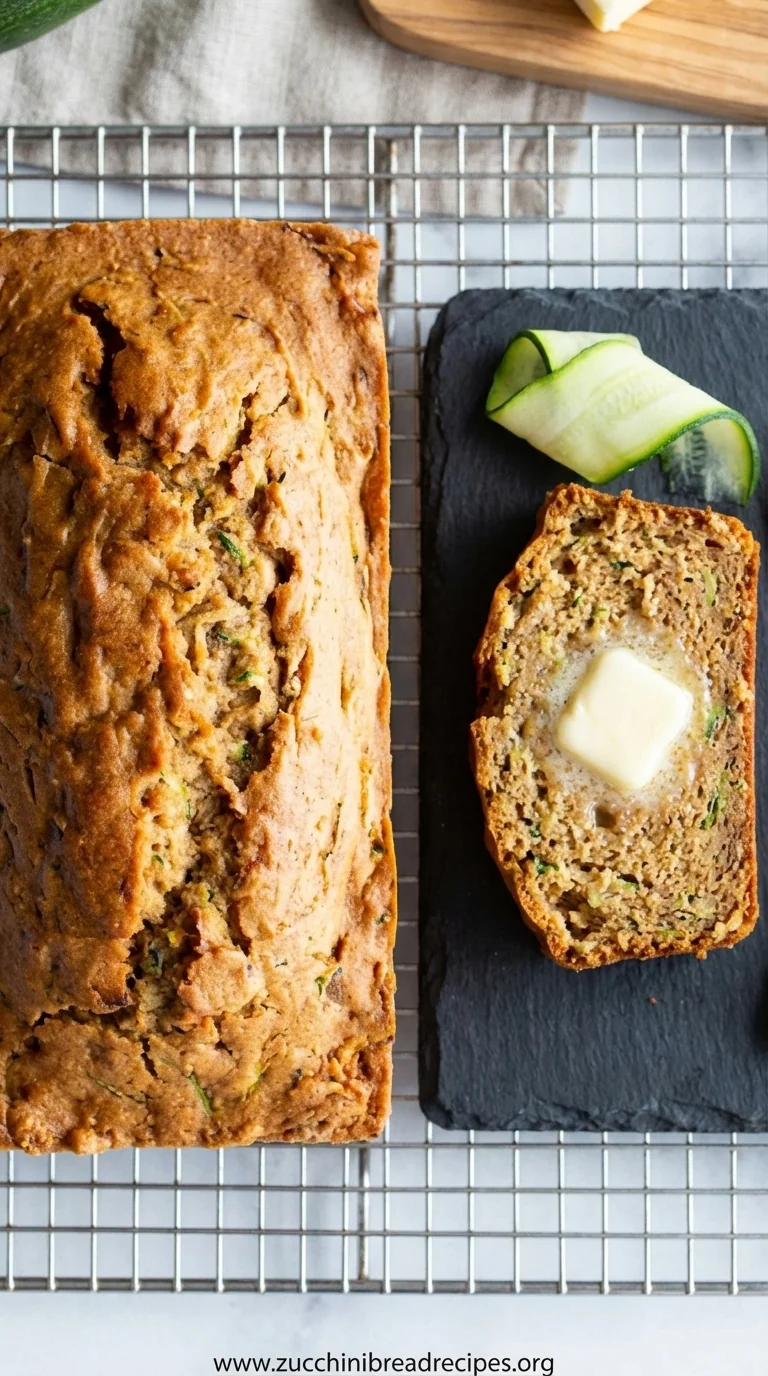
Easy Gluten-Free Zucchini Bread Recipe
Make moist and delicious gluten-free zucchini bread with this easy recipe. Perfect for a healthy snack or breakfast treat.
Timing
Prep Time
20 Minutes
Cook Time
55 Minutes
Total Time
1 Hour 15 Minutes
Recipe Details
Ingredients
For the Zucchini Bread
-
01
1 1/2 cups gluten-free all-purpose flour (with xanthan gum)
-
02
1 teaspoon baking soda
-
03
1/2 teaspoon salt
-
04
1 1/2 teaspoons ground cinnamon
-
05
1/4 teaspoon ground nutmeg
-
06
2 large eggs, at room temperature
-
07
1/2 cup vegetable oil or melted coconut oil
-
08
1/4 cup unsweetened applesauce
-
09
3/4 cup packed light brown sugar
-
10
1 teaspoon vanilla extract
-
11
1 1/2 cups grated zucchini (from about 1 medium zucchini), excess water gently squeezed out
Optional Add-ins
-
01
1/2 cup chopped walnuts or pecans
-
02
1/2 cup chocolate chips
Instructions
First, let's set a calm mood. Preheat your oven to 350°F (175°C). Find your favorite 9x5 inch loaf pan and grease it lightly, then line it with parchment paper so that a little hangs over the long sides—this will be your secret weapon for lifting it out later. Now, in a large, welcoming bowl, whisk together the gluten-free flour, baking soda, salt, cinnamon, and nutmeg. I love to close my eyes and just smell the spices for a second. This step is about more than just mixing; it's about making sure every slice will have that perfect, even warmth.
In another bowl—a medium one will do just fine—whisk the eggs until they're light and frothy. Then, pour in the oil, applesauce, brown sugar, and vanilla. Continue to whisk until everything is smooth and beautifully combined, like a silky caramel-colored ribbon. This is the heart of your bread's moisture. While you're at it, take care of your zucchini. After grating it, just gently press it between a few paper towels to get some of that extra liquid out. Don't wring it out completely, just a gentle squeeze to say 'thank you, that's enough water'.
Now, let's bring it all together. Gently pour the wet ingredients into the bowl with the dry ingredients. Using a spatula, fold them together with slow, deliberate strokes. Please be gentle here; we only want to mix until there are no more dry streaks of flour. A few little lumps are perfectly okay and actually encouraged! This gentle touch is what keeps gluten-free bread from getting tough. Once combined, fold in your beautifully prepped zucchini and any walnuts or chocolate chips if you’re adding that extra bit of joy.
Scoop the lovely, thick batter into your prepared loaf pan and smooth the top with your spatula. It should look promising already! Place it on the center rack of your preheated oven and let it bake for 50 to 60 minutes. The whole house will begin to smell absolutely heavenly. To check for doneness, a toothpick or skewer inserted into the center should come out clean. Let it cool in the pan for about 15 minutes before lifting it onto a wire rack to cool completely. This resting period is so important for the structure, so be patient, my friend. The reward is a perfect slice.
Notes & Tips
-
1
Don't skip squeezing the zucchini! Seriously, this is probably the most important tip. Zucchini holds a lot of water, which can make the bread heavy and dense if you don't remove some of it. A gentle squeeze is all it takes to ensure a light, fluffy crumb.
-
2
Let it cool completely. I know, I know, it's torture to wait when that warm, spicy smell is wafting through your home. But gluten-free baked goods need time to set. Slicing into it while it's still warm can result in a gummy texture. Patience will be rewarded with perfectly structured, beautiful slices.
-
3
Room temperature ingredients are your friends. Bringing your eggs to room temperature before mixing helps them incorporate more smoothly into the batter, which creates a more uniform texture in the final loaf. It’s a small detail that creates a more professional, tender result.

Tools You'll Need
-
9x5 Inch Loaf Pan: This is the classic home for our bread. A light-colored metal pan is my preference as it conducts heat gently and evenly, preventing the crust from getting too dark before the inside is cooked through.
-
Box Grater: A simple tool, but essential for getting that perfect shred on the zucchini. Using the medium-sized holes gives you nice little strands that melt into the bread, providing moisture without being obtrusive.
-
Mixing Bowls: You'll want at least two: a large one for your dry ingredients and a medium one for the wet. Having separate bowls helps you control the mixing process and ensures you don't accidentally overwork the batter.
-
Parchment Paper: My little secret for stress-free baking. Lining the pan not only prevents sticking but also creates a 'sling' to lift the finished loaf out effortlessly. No more hoping and praying as you flip the pan over!

Recipe by
Maya Green🌱🥗 Healthy foodie, vegan baker, and smoothie lover. Sharing guilt-free treats with energy and love 💪💚.
Get Delicious Recipes Weekly
Join 25,000+ home cooks getting our best recipes straight to their inbox.
Free forever • No spam • Unsubscribe anytime