
The concept of a no‑bake cheesecake dates back to the early 20th century when kitchen appliances were limited and home cooks prized simplicity. Originating in the United States, the dessert spread during the post‑war era, offering a quick way to satisfy cravings without heating the house. Over decades, the classic cream cheese base has welcomed countless variations, from fruit‑swirled delights to chocolate‑infused treats, each reflecting local tastes and pantry staples.
Why You'll Love It
-
- No oven required, ideal for warm days
-
- Ready in under 20 minutes, perfect for last‑minute gatherings
-
- Oreo crumbs add a nostalgic crunch that everyone recognizes
-
- Individual cups make portion control effortless
"These cups are the perfect balance of crumbly and creamy—my guests can’t get enough!"
Essential Ingredient Guide
- Oreo cookies: Use the classic chocolate‑cream variety; crush finely for a uniform base that holds together without extra binder.
- Cream cheese: Room‑temperature cheese blends smoothly, preventing lumps and ensuring a velvety filling.
- Whipped topping: Fold gently to keep the mousse light; it creates that airy texture we love.
- Sugar: A modest amount balances the bitterness of cocoa without overwhelming the buttery notes.
- Lemon juice: Just a splash brightens the richness, adding a subtle tang that lifts the palate.
- Vanilla extract: A few drops enhance the dessert’s aromatic profile, making it feel comforting.
 Chocolate
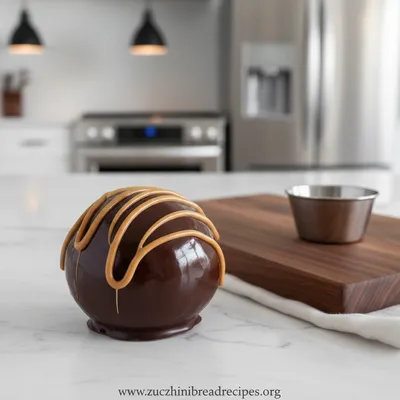
Keto Peanut Butter Chocolate Fat Bombs
Low‑carb keto peanut butter chocolate bites that satisfy cravings in seconds.
Complete Cooking Process
-
Ingredient Readiness:
Gather all components, let the cream cheese soften, and crush the Oreos into fine crumbs; this preparation sets the stage for a seamless mix.
-
Flavor Development:
Combine cream cheese, sugar, vanilla, and lemon juice, then fold in the whipped topping; each addition deepens the creamy, slightly tangy character.
-
Texture Control:
Layer the cookie crust in cups, then spoon the airy filling; gentle tapping settles the layers without compressing the mousse.
-
Finishing Touches:
Top each cup with a decorative Oreo piece or a dusting of cocoa; a final chill for at least an hour lets flavors meld.
-
Serving Timing:
Serve the cups chilled, directly from the refrigerator; they hold their shape beautifully when presented on a simple platter.
-
Press the crust firmly but not too hard—this prevents cracks later.
-
Use a food processor for uniform crumbs; it saves time.
-
Add a tiny pinch of salt to the filling to heighten chocolate notes.
-
If you prefer a sweeter profile, drizzle a thin ribbon of chocolate ganache just before serving.
Pro Tips
Well, a little patience in the fridge makes all the difference. I remember when my grandchildren first tried these cups; the smile on their faces reminded me that simplicity can create lasting memories. So, let the dessert rest, then share the cool, creamy joy with anyone who’ll listen.
 Chocolate
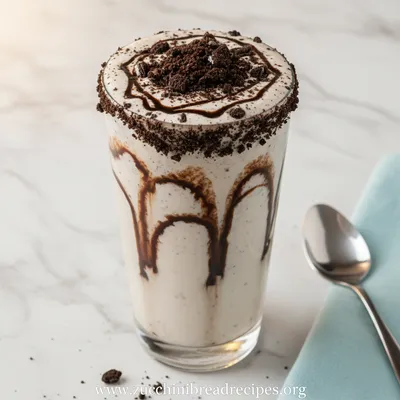
Creamy Oreo Smoothie
Indulge in a quick, chocolate‑kissed smoothie that’s both creamy and comforting.

The essence of the dish:
A delicate balance of crunchy cookie base and feather‑light cheesecake filling; every bite offers a contrast that feels both familiar and exciting.
A fun fact or historical angle:
No‑bake cheesecakes surged in popularity during the 1950s, when electric mixers became common household tools, allowing home cooks to whip airy fillings without heat.
Flavor or sensory focus:
The rich chocolate crumb gives way to a silky, tangy cream that tingles the palate, while a hint of vanilla lingers as a comforting aftertaste.
You Must Know
-
Use fully softened cream cheese for a smooth texture
-
Do not over‑mix the filling; gentle folds keep it airy
-
Chill thoroughly to set the cups firmly
Frequently Asked Questions
→ Can I make these cups gluten‑free?
Yes—substitute the Oreo cookies with a certified gluten‑free chocolate cookie and follow the same crust preparation.
→ How long can I store the cups?
Keep them refrigerated in an airtight container for up to three days; the texture remains creamy.
→ Do I need to whip the topping myself?
Store‑bought whipped topping works fine; just fold it gently into the cream cheese mixture.
→ Can I add fruit to the filling?
Absolutely—fold in a handful of raspberry puree or chopped strawberries for a fresh twist.
→ Is there a dairy‑free version?
Swap cream cheese for a plant‑based cream cheese alternative and use coconut‑based whipped topping.
→ What size cups work best?
Standard 4‑ounce ramekins give a perfect single‑serve portion; you can also use mini muffin tins for bite‑size treats.
Nutrition Facts
per serving
280
Calories
5g
Protein
24g
Carbs
16g
Fat
Taste Profile
Rich chocolate with a creamy tang
Ingredient Substitutions
Don't have an ingredient? Try these alternatives
Blend tofu until smooth; add a splash of lemon to mimic tang.
Ensure they have a similar texture for the crust.
Recipe Variations
Try these delicious twists on the original
Spicy Version
Add a pinch of cayenne and a drizzle of chocolate chili sauce for a gentle kick.
Mediterranean Style
Fold in crumbled feta and a few chopped pistachios for a savory twist.
Common Mistakes to Avoid
Learn from others' mistakes for perfect results
- Over‑mixing the filling, which can make it dense
- Pressing the crust too hard, leading to cracks
- Skipping the chill time, resulting in a runny texture
Meal Prep & Storage
Make Ahead Tips
You can prepare the crust and filling up to 24 hours ahead; keep them separate, then assemble and chill before serving.
Leftover Ideas
Reheat gently in a microwave for 10‑15 seconds if you prefer a softer texture, but the cups are best enjoyed chilled.
Perfect Pairings
Serve this with...
Cooking Timeline
Gather and prep all ingredients; crush cookies and soften cheese.
Mix crust ingredients, press into cups, and chill briefly.
Combine filling components, fold in whipped topping, and spoon into cups.
Refrigerate the assembled cups to set before serving.
 Chocolate
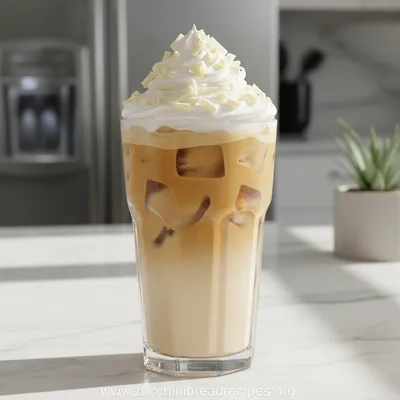
Starbucks Iced White Chocolate Mocha Recipe
Recreate Starbucks' beloved iced white chocolate mocha at home with simple ingredients and easy steps.

Oreo No-Bake Cheesecake Cups
Creamy Oreo no-bake cheesecake cups that melt on the tongue, with a crunchy chocolate cookie base and a luscious, airy filling—perfect for a quick indulgent treat.
Timing
Prep Time
15 Minutes
Cook Time
0 Minutes
Total Time
15 Minutes
Recipe Details
Ingredients
Crust
-
01
12 Oreo cookies, finely crushed
-
02
2 tbsp melted butter
Filling
-
01
8 oz cream cheese, softened
-
02
1/4 cup granulated sugar
-
03
1 tsp vanilla extract
-
04
1 tbsp fresh lemon juice
-
05
1 cup whipped topping
-
06
2 tbsp cocoa powder (optional for extra chocolate depth)
Garnish
-
01
Additional Oreo crumbs
-
02
Chocolate shavings
Instructions
Place the crushed Oreo cookies and melted butter in a bowl; stir until the crumbs are evenly coated.
Divide the crumb mixture among six serving cups, pressing gently to form a compact crust.
In a separate bowl, beat the softened cream cheese with sugar, vanilla, and lemon juice until smooth; fold in the whipped topping and cocoa powder if using.
Spoon the creamy filling over each crust, smoothing the tops with the back of a spoon.
Refrigerate the cups for at least 60 minutes to set.
Before serving, garnish with a sprinkle of Oreo crumbs and a few chocolate shavings for visual charm.
Notes & Tips
-
1
Do not over‑mix the cream cheese mixture, or the filling may become dense.
-
2
If you prefer a firmer texture, add a tablespoon of melted chocolate to the filling.
-
3
For a festive touch, drizzle a thin ribbon of caramel sauce just before serving.
Tools You'll Need
-
Food processor or zip‑top bag and rolling pin
-
Mixing bowls
-
Hand mixer or spatula
-
Six 4‑ounce ramekins or silicone cups
-
Measuring cups and spoons
Must-Know Tips
-
Press the crust lightly to avoid cracks later.
-
Let the cream cheese sit out for 30 minutes for best consistency.
-
Taste the filling before chilling; adjust sweetness if needed.
Professional Secrets
-
Use a chilled bowl when folding whipped topping to retain air.
-
Add a pinch of sea salt to the crust for unexpected depth.
-
Serve the cups on a cool plate to keep them firm longer.

Recipe by
Chloe Bennett🍫💖 Chocolate addict, dessert dreamer, and muffin magician. Sprinkles happiness in every bite 🎉🧁.
Get Delicious Recipes Weekly
Join 25,000+ home cooks getting our best recipes straight to their inbox.
Free forever • No spam • Unsubscribe anytime