
The Butterfinger candy bar, with its unique flaky, crunchy texture and rich peanut butter flavor, was first introduced in 1923 by the Curtiss Candy Company. The name was famously chosen through a public contest, and it quickly became a beloved American treat. This homemade version captures the essence of that classic candy in a simple, no-bake form, allowing anyone to recreate that iconic taste and satisfying crunch at home without any special equipment.
Why You'll Love It
-
The flavor is spot-on, just like the classic candy bar.
-
They’re incredibly easy to make with no baking required.
-
Perfect for gifting or for a quick sweet fix.
-
Kids love to help roll the balls and dip them in chocolate.
"These taste exactly like the real thing! My family couldn't get enough. So easy and delicious."
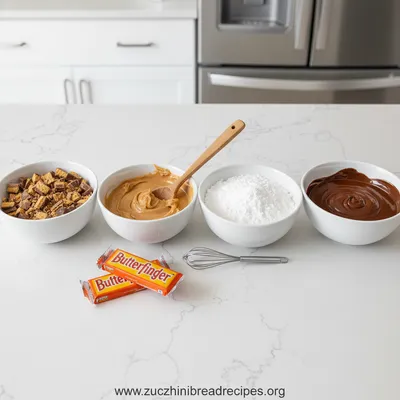
Essential Ingredient Guide
- Candy Corn: This is the surprising secret ingredient that gives the filling its signature Butterfinger flavor and texture when melted with peanut butter. Use fresh candy corn for the best results.
- Creamy Peanut Butter: This binds everything together and provides the rich, nutty base. I find a standard brand like Jif or Skippy works perfectly; no need for natural peanut butter here.
- Powdered Sugar: It sweetens the mixture and helps it firm up into a rollable consistency. Sift it first to avoid any lumps.
- Chocolate Almond Bark or Melting Wafers: This creates the smooth, hard chocolate shell. Almond bark is my go-to because it sets nicely and has a great snap. You can use dark, milk, or semi-sweet varieties.
- Vanilla Extract: Just a dash enhances all the other flavors and adds a bit of warmth. Use pure vanilla for the best taste.
- A Pinch of Salt: Don’t skip this! It balances the sweetness and makes the peanut butter flavor pop.
Complete Cooking Process
-
Ingredient Readiness:
Everything needs to be measured and ready because the candy corn mixture moves quickly once it's melted. Having the powdered sugar pre-sifted saves a lot of time and fuss later on.
-
Flavor Development:
The magic happens when the candy corn melts with the peanut butter. You'll see it change from separate pieces into a smooth, thick, golden paste. That's when you know the flavor foundation is perfect.
-
Texture Control:
Letting the peanut butter mixture cool just enough to handle is crucial. If it's too hot, it will be sticky; if it's too cool, it might be crumbly. You want it pliable, like playdough.
-
Finishing Touches:
The final dip in chocolate is what makes them special. A good, even coating and a quick sprinkle of salt or crumbs before it sets makes all the difference in both look and taste.
-
Serving Timing:
These are best served once the chocolate has fully set and hardened, which usually takes about an hour. They have the perfect crunch when they're completely cool.
-
Use a double boiler or a heatproof bowl over simmering water to melt the candy corn gently and prevent burning.
-
Wet your hands slightly with cool water when rolling the balls to prevent the mixture from sticking to your fingers.
-
Use a fork or a dipping tool to coat the balls in chocolate for a smoother finish and less mess.
-
Let the chocolate set completely on parchment or wax paper; it peels off easily.
Pro Tips
You know, I’ve made these more times than I can count, and the one thing I’ve learned is not to rush the cooling. Giving the peanut butter mixture that few minutes to firm up makes rolling the balls so much easier. And honestly, don’t worry if they’re not perfectly round. It’s a homemade treat, a little imperfection just adds to the charm.
If you're looking for other simple and satisfying treats, you might enjoy exploring some of the delicious recipes we have. There's something so comforting about creating sweets from scratch, and these balls are a fantastic place to start, especially if you love that nostalgic candy bar flavor.
 Classic
Orange Juice Cake – Moist, Citrus Delight
A moist orange juice cake that’s light, citrus‑perfumed, and perfect for any gathering.
The essence of the dish:
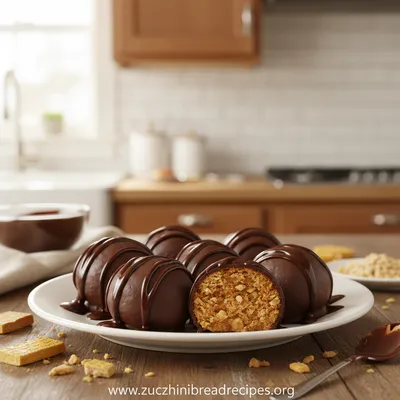
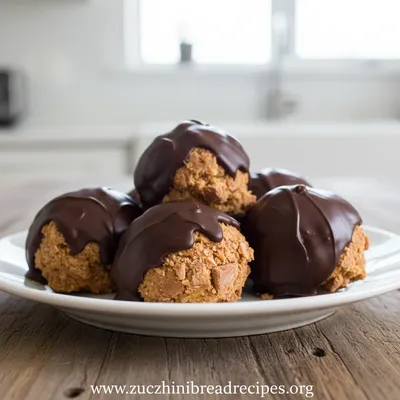
It’s that incredible combination of a crisp, flaky center with a rich, smooth chocolate coating. The taste is unmistakably Butterfinger, but somehow even more satisfying because you made it yourself.
A fun fact or historical angle:
The original Butterfinger bar got its name from a contest where someone joked that if you ate the peanut-buttery bar while playing baseball, you'd 'butter' your finger and fumble the catch.
Flavor or sensory focus:
The first thing you'll notice is the snap of the chocolate shell, followed immediately by that uniquely crunchy, almost honey-combed texture inside that just melts in your mouth.
You Must Know
-
The candy corn MUST melt completely with the peanut butter to achieve the right flavor and texture.
-
Do not use natural peanut butter; it will be too oily and won't set properly.
-
Chilling the rolled balls before dipping is a game-changer for a neat chocolate coating.
Frequently Asked Questions
→ Can I use a different candy instead of candy corn?
Honestly, candy corn is essential for achieving the authentic Butterfinger flavor and texture. Its unique composition melts down into the perfect flaky consistency. I haven't found a good substitute that works the same way.
→ Why did my mixture turn out too sticky or too crumbly?
If it's too sticky, you might not have let the melted mixture cool enough before adding the powdered sugar. If it's crumbly, you might need a bit more peanut butter or a tiny splash of milk to bring it together. The texture should be like a firm, moldable dough.
→ How long do these Butterfinger balls keep?
Stored in an airtight container in the refrigerator, they'll stay fresh and crunchy for up to two weeks. You can also freeze them for up to three months. Just thaw in the fridge before serving.
→ Can I use chocolate chips instead of almond bark?
You can, but you'll need to add a teaspoon of coconut oil to the chocolate chips to help them melt smoothly and set with a crisp snap. Almond bark or candy melts are formulated specifically for coating and are much easier to work with.
→ My chocolate coating is too thick. What happened?
The chocolate might have been too warm when you dipped, or the balls might have been too cold. Aim for room temperature balls and chocolate that is fluid but not hot. If it thickens as you work, you can gently re-warm it.
→ Can I make these gluten-free?
Most candy corn contains gluten, so you'd need to find a gluten-free brand. If you're adapting recipes for dietary needs, our gluten-free zucchini bread is another great option that's naturally friendly.
Nutrition Facts
per serving
150
Calories
2g
Protein
21g
Carbs
7g
Fat
Taste Profile
A sweet and salty profile dominated by rich peanut butter and chocolate.
Ingredient Substitutions
Don't have an ingredient? Try these alternatives
The recipe relies on the specific composition of candy corn.
For a nut-free version, though the flavor will be different.
Recipe Variations
Try these delicious twists on the original
Cookie Dough Style
Add a 1/4 cup of mini chocolate chips to the filling mixture for a extra chocolatey bite.
Nutty Crunch
Roll the finished chocolate-dipped balls in finely chopped peanuts for added texture and appearance.
Common Mistakes to Avoid
Learn from others' mistakes for perfect results
- Using too high heat to melt the candy corn, which can cause it to burn and taste bitter.
- Adding the powdered sugar to a mixture that is too hot, causing it to dissolve oddly.
- Skipping the chilling step, resulting in messy dipping and misshapen balls.
Meal Prep & Storage
Make Ahead Tips
You can prepare the peanut butter balls and keep them chilled for up to 2 days before dipping them in chocolate. The dipped balls keep well for weeks.
Leftover Ideas
Leftovers are best kept refrigerated. The chocolate may sweat if left out too long in a warm room.
Perfect Pairings
Serve this with...
Cooking Timeline
Melt candy corn and peanut butter together on the stovetop.
Mix in powdered sugar, vanilla, and salt. Let mixture cool slightly.
Roll the mixture into balls and chill on a baking sheet.
Melt the chocolate coating while the balls are chilling.
Dip the chilled balls in chocolate and let them set completely.
 Chocolate
Keto Peanut Butter Chocolate Fat Bombs
Low‑carb keto peanut butter chocolate bites that satisfy cravings in seconds.
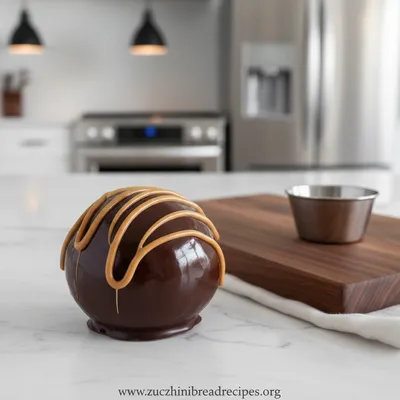
Butterfinger Balls Recipe
A sweet, crunchy homemade candy with the irresistible flavor of Butterfinger candy bars, dipped in smooth chocolate for a perfect bite-sized treat.
Timing
Prep Time
20 Minutes
Cook Time
10 Minutes
Total Time
1 Hour 30 Minutes
Recipe Details
Ingredients
For the Filling
-
01
1 (10 oz) bag candy corn
-
02
1 cup creamy peanut butter (not natural)
-
03
1 ½ cups powdered sugar, sifted
-
04
1 teaspoon vanilla extract
-
05
¼ teaspoon salt
For the Coating
-
01
16 ounces chocolate almond bark or candy melting wafers
-
02
Optional: 1 tablespoon crushed peanuts or sprinkle of sea salt for garnish
Instructions
In a medium saucepan over low heat, combine the candy corn and peanut butter. Stir constantly until the candy corn is completely melted and the mixture is smooth. This will take about 5-7 minutes. Remove from heat and stir in the vanilla and salt.
Gradually stir the sifted powdered sugar into the warm peanut butter mixture until a thick dough forms. It will be a bit sticky. Let the mixture cool for about 15-20 minutes, until it's comfortable to handle.
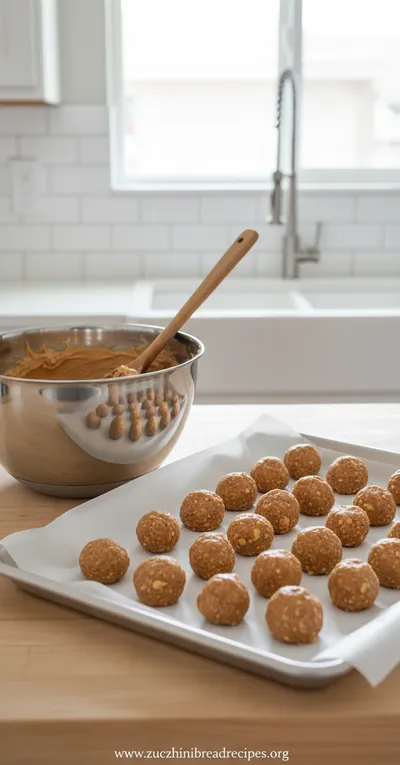
Line a baking sheet with parchment paper. Using slightly damp hands, roll the dough into 1-inch balls and place them on the prepared sheet. If the dough is too sticky, chill it for another 10 minutes. Once all balls are rolled, place the baking sheet in the refrigerator for at least 30 minutes to firm up.
Meanwhile, melt the chocolate almond bark according to package directions, usually in a microwave-safe bowl in 30-second intervals, stirring between each, until smooth.
Using a fork or a dipping tool, dip each chilled ball into the melted chocolate, coating completely. Let the excess chocolate drip off, then return to the parchment paper. If desired, sprinkle with a tiny pinch of sea salt or crushed peanuts before the chocolate sets.
Allow the chocolate to set completely at room temperature, which takes about an hour. You can speed this up by placing them in the refrigerator for 15 minutes. Once set, enjoy! For more kitchen inspiration, check out our helpful articles on baking tips and tricks.
Notes & Tips
-
1
Store in an airtight container in the refrigerator for up to 2 weeks.
-
2
For a fun variation, try using white chocolate or dark chocolate for the coating.
-
3
If the mixture becomes too firm to roll after chilling, let it sit at room temperature for a few minutes to soften.
 Chocolate
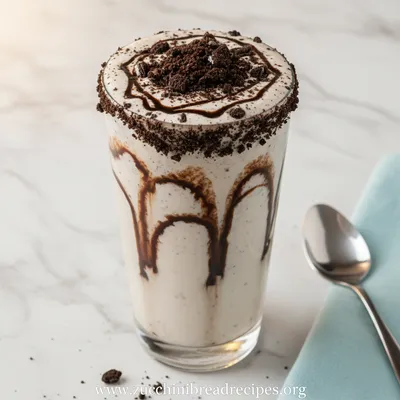
Creamy Oreo Smoothie
Indulge in a quick, chocolate‑kissed smoothie that’s both creamy and comforting.
Tools You'll Need
-
Medium saucepan
-
Wooden spoon or spatula
-
Measuring cups and spoons
-
Baking sheet
-
Parchment paper
-
Microwave-safe bowl (for chocolate)
-
Fork or dipping tool
Must-Know Tips
-
Don't rush the melting, Low and slow heat prevents the candy corn from burning.
-
Chill the balls, A firm, cold center makes dipping in chocolate much cleaner.
-
Sift the sugar, This prevents lumpy filling and makes for a smoother texture.
Professional Secrets
-
Slightly damp hands, Prevents the sticky mixture from clinging to your fingers while rolling.
-
Room temperature balls for dipping, If they're too cold, condensation can make the chocolate seize.
-
A thin layer of chocolate, Ensures a perfect snap and isn't overwhelming.

Recipe by
Chloe Bennett🍫💖 Chocolate addict, dessert dreamer, and muffin magician. Sprinkles happiness in every bite 🎉🧁.
Get Delicious Recipes Weekly
Join 25,000+ home cooks getting our best recipes straight to their inbox.
Free forever • No spam • Unsubscribe anytime