
Vanilla ice cream traces its roots to the 17th century, when explorers first brought vanilla pods back from the New World. Over centuries, it became a staple in desserts worldwide, celebrated for its delicate aroma and versatile nature. Today, the Ninja Creami allows home cooks to recreate that timeless indulgence quickly and effortlessly.
Why You'll Love It
-
- Incredibly smooth texture, almost like a cloud
-
- Pure vanilla flavor shines without heaviness
-
- Quick preparation, perfect for spontaneous cravings
-
- No need for an ice bath or complicated churn
"The most velvety vanilla ice cream I’ve ever made at home, and it took less than an hour!"
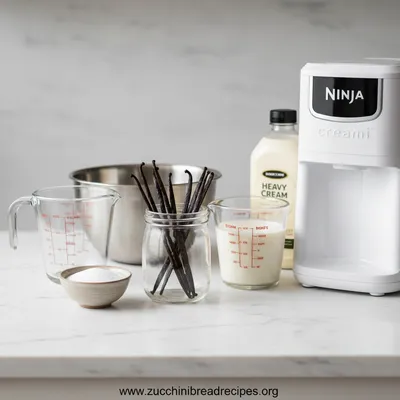
Essential Ingredient Guide
- Whole milk: Choose fresh, high‑fat milk for richness; it carries the vanilla flavor beautifully.
- Heavy cream: Adds silkiness and body; chill it well before mixing.
- Pure vanilla extract: Use a high‑quality extract for depth; a splash of vanilla bean seeds adds extra aroma.
- Sugar: Granulated sugar dissolves evenly; adjust for a slightly sweeter palate if desired.
- Pinch of salt: Enhances the vanilla’s natural sweetness and balances the flavor.
- Optional: Vanilla bean pod: Scrape the seeds into the base for an extra fragrant note.
 Classic
Orange Chicken – Crispy Tangy Sauce
Crispy orange chicken with a glossy, sweet‑tangy sauce—quick, satisfying, and classic.
Complete Cooking Process
-
Ingredient Readiness:
Measure and chill all dairy components; whisk together milk, cream, sugar, salt, and vanilla until fully dissolved.
-
Flavor Development:
Allow the mixture to sit for a few minutes; the vanilla scent thickens, and the sugar fully incorporates.
-
Texture Control:
Pour the base into the Ninja Creami’s pint container, freeze solid for 24 hours, then run the Creami cycle.
-
Finishing Touches:
After the first churn, fold in any extra vanilla beans or a drizzle of honey, then run a second soft‑serve spin if needed.
-
Serving Timing:
Serve immediately for a soft‑serve feel, or refreeze for a firmer scoop; garnish with a sprig of mint if you like.
-
Chill the pint container well before the first spin for optimal creaminess.
-
If the ice cream seems grainy, run a second spin; the Creami re‑emulsifies the mixture.
-
Add a tiny pinch of alcohol‑free vanilla liqueur substitute for a smoother texture—just a dash.
Pro Tips
Well, those little adjustments make a world of difference. I’ve found that a calm moment, letting the mixture rest, brings out the vanilla’s natural glow. So, take a breath, trust the process, and enjoy each spoonful.
 Classic
Best Banana Bread Recipe
Soft, sweet banana bread made with ripe bananas, a touch of butter, and simple pantry staples.
The essence of the dish:
A single‑ingredient spotlight—vanilla—gives this ice cream its heart. The cream and milk provide a buttery backdrop, while the sugar balances the natural herbaceous notes.
A fun fact or historical angle:
Vanilla was once more valuable than gold, traded by hand‑crafters across continents. Its rarity made it a luxury, reserved for royalty.
Flavor or sensory focus:
You’ll first notice the cool, silky glide on the tongue, followed by a lingering, fragrant vanilla perfume that feels like a warm summer breeze.
You Must Know
-
Use whole milk, not skim, for body.
-
Never skip the 24‑hour freeze; it’s key.
-
Taste before churning; adjust sweetness.
Frequently Asked Questions
→ Can I use low‑fat milk?
You can, but the texture will be less rich; consider adding a bit more cream to compensate.
→ How long can I store the ice cream?
Store in an airtight container for up to two weeks; let it soften slightly before serving.
→ Do I need an ice cream maker?
The Ninja Creami acts as a compact ice cream maker, eliminating the need for a traditional churn.
→ What if I want a softer texture?
Run a second spin on the Creami’s soft‑serve setting, or let the ice cream sit at room temperature for a few minutes before serving.
→ Can I add mix‑ins?
Yes—fold in chocolate chips, crushed cookies, or fruit after the first churn, then spin again briefly.
→ Is this recipe suitable for vegans?
Swap dairy with coconut cream and almond milk; the texture will remain delightfully creamy.
Nutrition Facts
per serving
210
Calories
3g
Protein
22g
Carbs
12g
Fat
Taste Profile
Delicate vanilla sweetness with a creamy mouthfeel
Ingredient Substitutions
Don't have an ingredient? Try these alternatives
Provides a dairy‑free richness; may add a faint coconut aroma.
Adds a gentle floral note; reduce by half the volume.
Recipe Variations
Try these delicious twists on the original
Spicy Version
Add a pinch of ground cinnamon and a dash of cayenne for a subtle kick.
Mediterranean Style
Stir in crushed pistachios and a drizzle of honey after the first churn.
Common Mistakes to Avoid
Learn from others' mistakes for perfect results
- Overfilling the pint, which can cause overflow during churn.
- Skipping the 24‑hour freeze, resulting in icy texture.
- Not whisking sugar fully, leading to grainy bites.
Meal Prep & Storage
Make Ahead Tips
You can prepare the base mixture up to 2 days in advance; refrigerate and stir before freezing in the pint.
Leftover Ideas
Scoop directly from the freezer; let sit briefly to soften for a perfect bite.
Perfect Pairings
Serve this with...
Cooking Timeline
Whisk together milk, cream, sugar, salt, and vanilla.
Add vanilla bean seeds, let rest briefly.
Pour into pint, seal, and place in freezer.
Freeze completely before churning.
Run Ninja Creami Ice Cream program; optionally add mix‑ins.
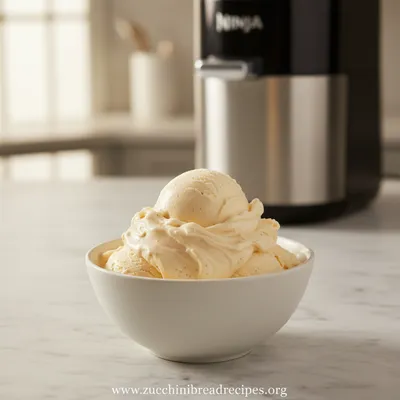
Ninja Creami Vanilla Ice Cream Recipe
Create silky, homemade vanilla ice cream with your Ninja Creami. This recipe walks you through simple steps, yielding a creamy texture and pure vanilla flavor in just minutes. It’s perfect for a quiet evening or a family gathering, and it feels like a gentle hug for the taste buds.
Timing
Prep Time
15 Minutes
Cook Time
0 Minutes
Total Time
24 Hours 15 Minutes
Recipe Details
Ingredients
Base
-
01
2 cups whole milk
-
02
1 cup heavy cream
-
03
3/4 cup granulated sugar
-
04
2 tsp pure vanilla extract
-
05
1 pinch salt
-
06
1 vanilla bean, split and seeds scraped (optional)
Instructions
In a medium bowl, whisk together milk, cream, sugar, salt, and vanilla extract until the sugar dissolves completely.
If using a vanilla bean, stir in the seeds and the pod for extra aroma; let the mixture sit for 5 minutes.
Pour the mixture into the Ninja Creami pint container, secure the lid, and place it in the freezer for at least 24 hours.
After freezing, insert the pint into the Ninja Creami, select the "Ice Cream" program, and let the machine churn until smooth.
If you desire a softer texture, run the "Gelato" or "Sorbet" spin for an additional 30 seconds.
Transfer the ice cream to a serving bowl, garnish with a vanilla bean slice or a sprig of mint, and enjoy immediately.
Notes & Tips
-
1
For an ultra‑silky finish, strain the base through a fine‑mesh sieve before freezing.
-
2
If the ice cream appears slightly icy, add a splash of milk and re‑spin.
-
3
Feel free to swirl in a caramel ribbon after the first churn for a caramel‑vanilla twist.
 Classic
Creamy Shrimp and Spinach Tortellini
Creamy shrimp and spinach tortellini brings together pasta, shrimp, and a silky sauce in one soothing dish.
Tools You'll Need
-
Ninja Creami machine
-
Measuring cups and spoons
-
Whisk
-
Medium mixing bowl
-
Fine‑mesh sieve
Must-Know Tips
-
Do not overfill the pint; leave room for expansion.
-
Use fresh vanilla extract for the brightest flavor.
-
Let the mixture rest briefly to allow vanilla perfume to develop.
Professional Secrets
-
Chill the pint container overnight for even freezing.
-
Run a quick pulse after the main churn to break any remaining ice crystals.
-
Add a pinch of salt to enhance the vanilla’s natural sweetness.

Recipe by
Emma Harper🥖✨ Lover of timeless recipes, cozy kitchens, and golden loaves. Always baking memories with love ❤️🍽️.
Get Delicious Recipes Weekly
Join 25,000+ home cooks getting our best recipes straight to their inbox.
Free forever • No spam • Unsubscribe anytime